内容目录
PVE下ubuntu22.04部署Stable Diffusion教程(使用NVIDIA P100显卡)
一、下载Stable Diffusion
B站大佬秋葉aaaki的Stable Diffusion版本,不但可以在Windows11上部署,在Ubuntu22.04上也是超级简单的,我下载的版本是sd-webui-aki-v4.5,有需要可以去大佬主页下载,或者私聊我。本教程参考于阿宁明道大佬的教程。
二、准备Stable Diffusion
把Stable Diffusion下载的压缩包解压到桌面,因为win和Linux的区别,有些字符定义需要转换一下,这里就重新搞一下webui.sh 和 webui-user.sh两个文件。
#切换到root用户
sudo su -

#我们的sd路径
cd /home/jason/Desktop/sd-webui-aki-v4.5

touch a.sh
chmod 777 a.sh
chmod +x a.sh

#然后在图形页面,打开webui.sh,拷贝期内容到a.sh,a.sh中内容就适合于Linux了

rm webui.sh
mv a.sh webui.sh

touch b.sh
chmod 777 ba.sh
chmod +x b.sh

#然后在图形页面,打开webui-user.sh,拷贝期内容到b.sh,b.sh中内容就适合于Linux了

rm webui-user.sh
mv b.sh webui-user.sh
三、Stable Diffusion运行环境准备
3.1 安装Tesla P100显卡驱动
# installation tips
apt update
apt upgrade -y
apt install vim -y

apt install g++ gcc make -y

#查看ubuntu-drivers devices
root@hep:~# ubuntu-drivers devices
== /sys/devices/pci0000:00/0000:00:10.0 ==
modalias : pci:v000010DEd000015F8sv000010DEsd0000118Fbc03sc02i00
vendor   : NVIDIA Corporation
model    : GP100GL [Tesla P100 PCIe 16GB]
driver   : nvidia-driver-470-server - distro non-free
driver   : nvidia-driver-450-server - distro non-free
driver   : nvidia-driver-535-server - distro non-free
driver   : nvidia-driver-418-server - distro non-free
driver   : nvidia-driver-390 - distro non-free
driver   : nvidia-driver-470 - distro non-free
driver   : nvidia-driver-525 - distro non-free
driver   : nvidia-driver-535 - distro non-free recommended
driver   : nvidia-driver-525-server - distro non-free
driver   : xserver-xorg-video-nouveau - distro free builtin
root@hep:~#

#选择nvidia-driver-535 - distro non-free recommended这个推荐的驱动安装
apt install nvidia-driver-535 -y

#重启
reboot

#查看驱动nvidia-smi,显示已经可以识别P100了
root@hep:~# nvidia-smi
Tue Nov 28 14:17:48 2023
+---------------------------------------------------------------------------------------+
| NVIDIA-SMI 535.129.03             Driver Version: 535.129.03   CUDA Version: 12.2     |
|-----------------------------------------+----------------------+----------------------+
| GPU  Name                 Persistence-M | Bus-Id        Disp.A | Volatile Uncorr. ECC |
| Fan  Temp   Perf          Pwr:Usage/Cap |         Memory-Usage | GPU-Util  Compute M. |
|                                         |                      |               MIG M. |
|=========================================+======================+======================|
|   0  Tesla P100-PCIE-16GB           Off | 00000000:00:10.0 Off |                    0 |
| N/A   34C    P0              26W / 250W |      4MiB / 16384MiB |      0%      Default |
|                                         |                      |                  N/A |
+-----------------------------------------+----------------------+----------------------+

+---------------------------------------------------------------------------------------+
| Processes:                                                                            |
|  GPU   GI   CI        PID   Type   Process name                            GPU Memory |
|        ID   ID                                                             Usage      |
|=======================================================================================|
|    0   N/A  N/A      1243      G   /usr/lib/xorg/Xorg                            4MiB |
+---------------------------------------------------------------------------------------+
root@hep:~#
3.2 准备Python环境
#进入sd根目录
cd /home/jason/Desktop/sd-webui-aki-v4.5
#安装pip && Python虚拟环境
apt install git pip -y
apt install python3-venv -y
python3 -m venv venv
source ./venv/bin/activate
#设置pip源为阿里源
pip config set global.index-url https://mirrors.aliyun.com/pypi/simple/
#更新pip
pip install --upgrade pip  -i https://mirrors.aliyun.com/pypi/simple/
#增加git目录
git config --global --add safe.directory /home/jason/Desktop/sd-webui-aki-v4.5
四、运行Stable Diffusion
#运行命令使用 ./webui.sh -f 或者bash webui.sh -f ,如果不使用root用户,可以去掉f参数
bash webui.sh -f
#此时会安装各种依赖,慢慢等待就好
若报错如下:
OSError: Can't load tokenizer for 'openai/clip-vit-large-patch14'. If you were trying to load it from 'make sure you don't have a local directory with the same name. Otherwise, make sure 'openai/clip-vit-large-patch14' is the correct path to a directory containing all relevant files for a CLIPTokenizer tokenizer.可以参考这个大佬的解决办法http://www.chen-studio.com/archives/128.html,应该是墙的问题。
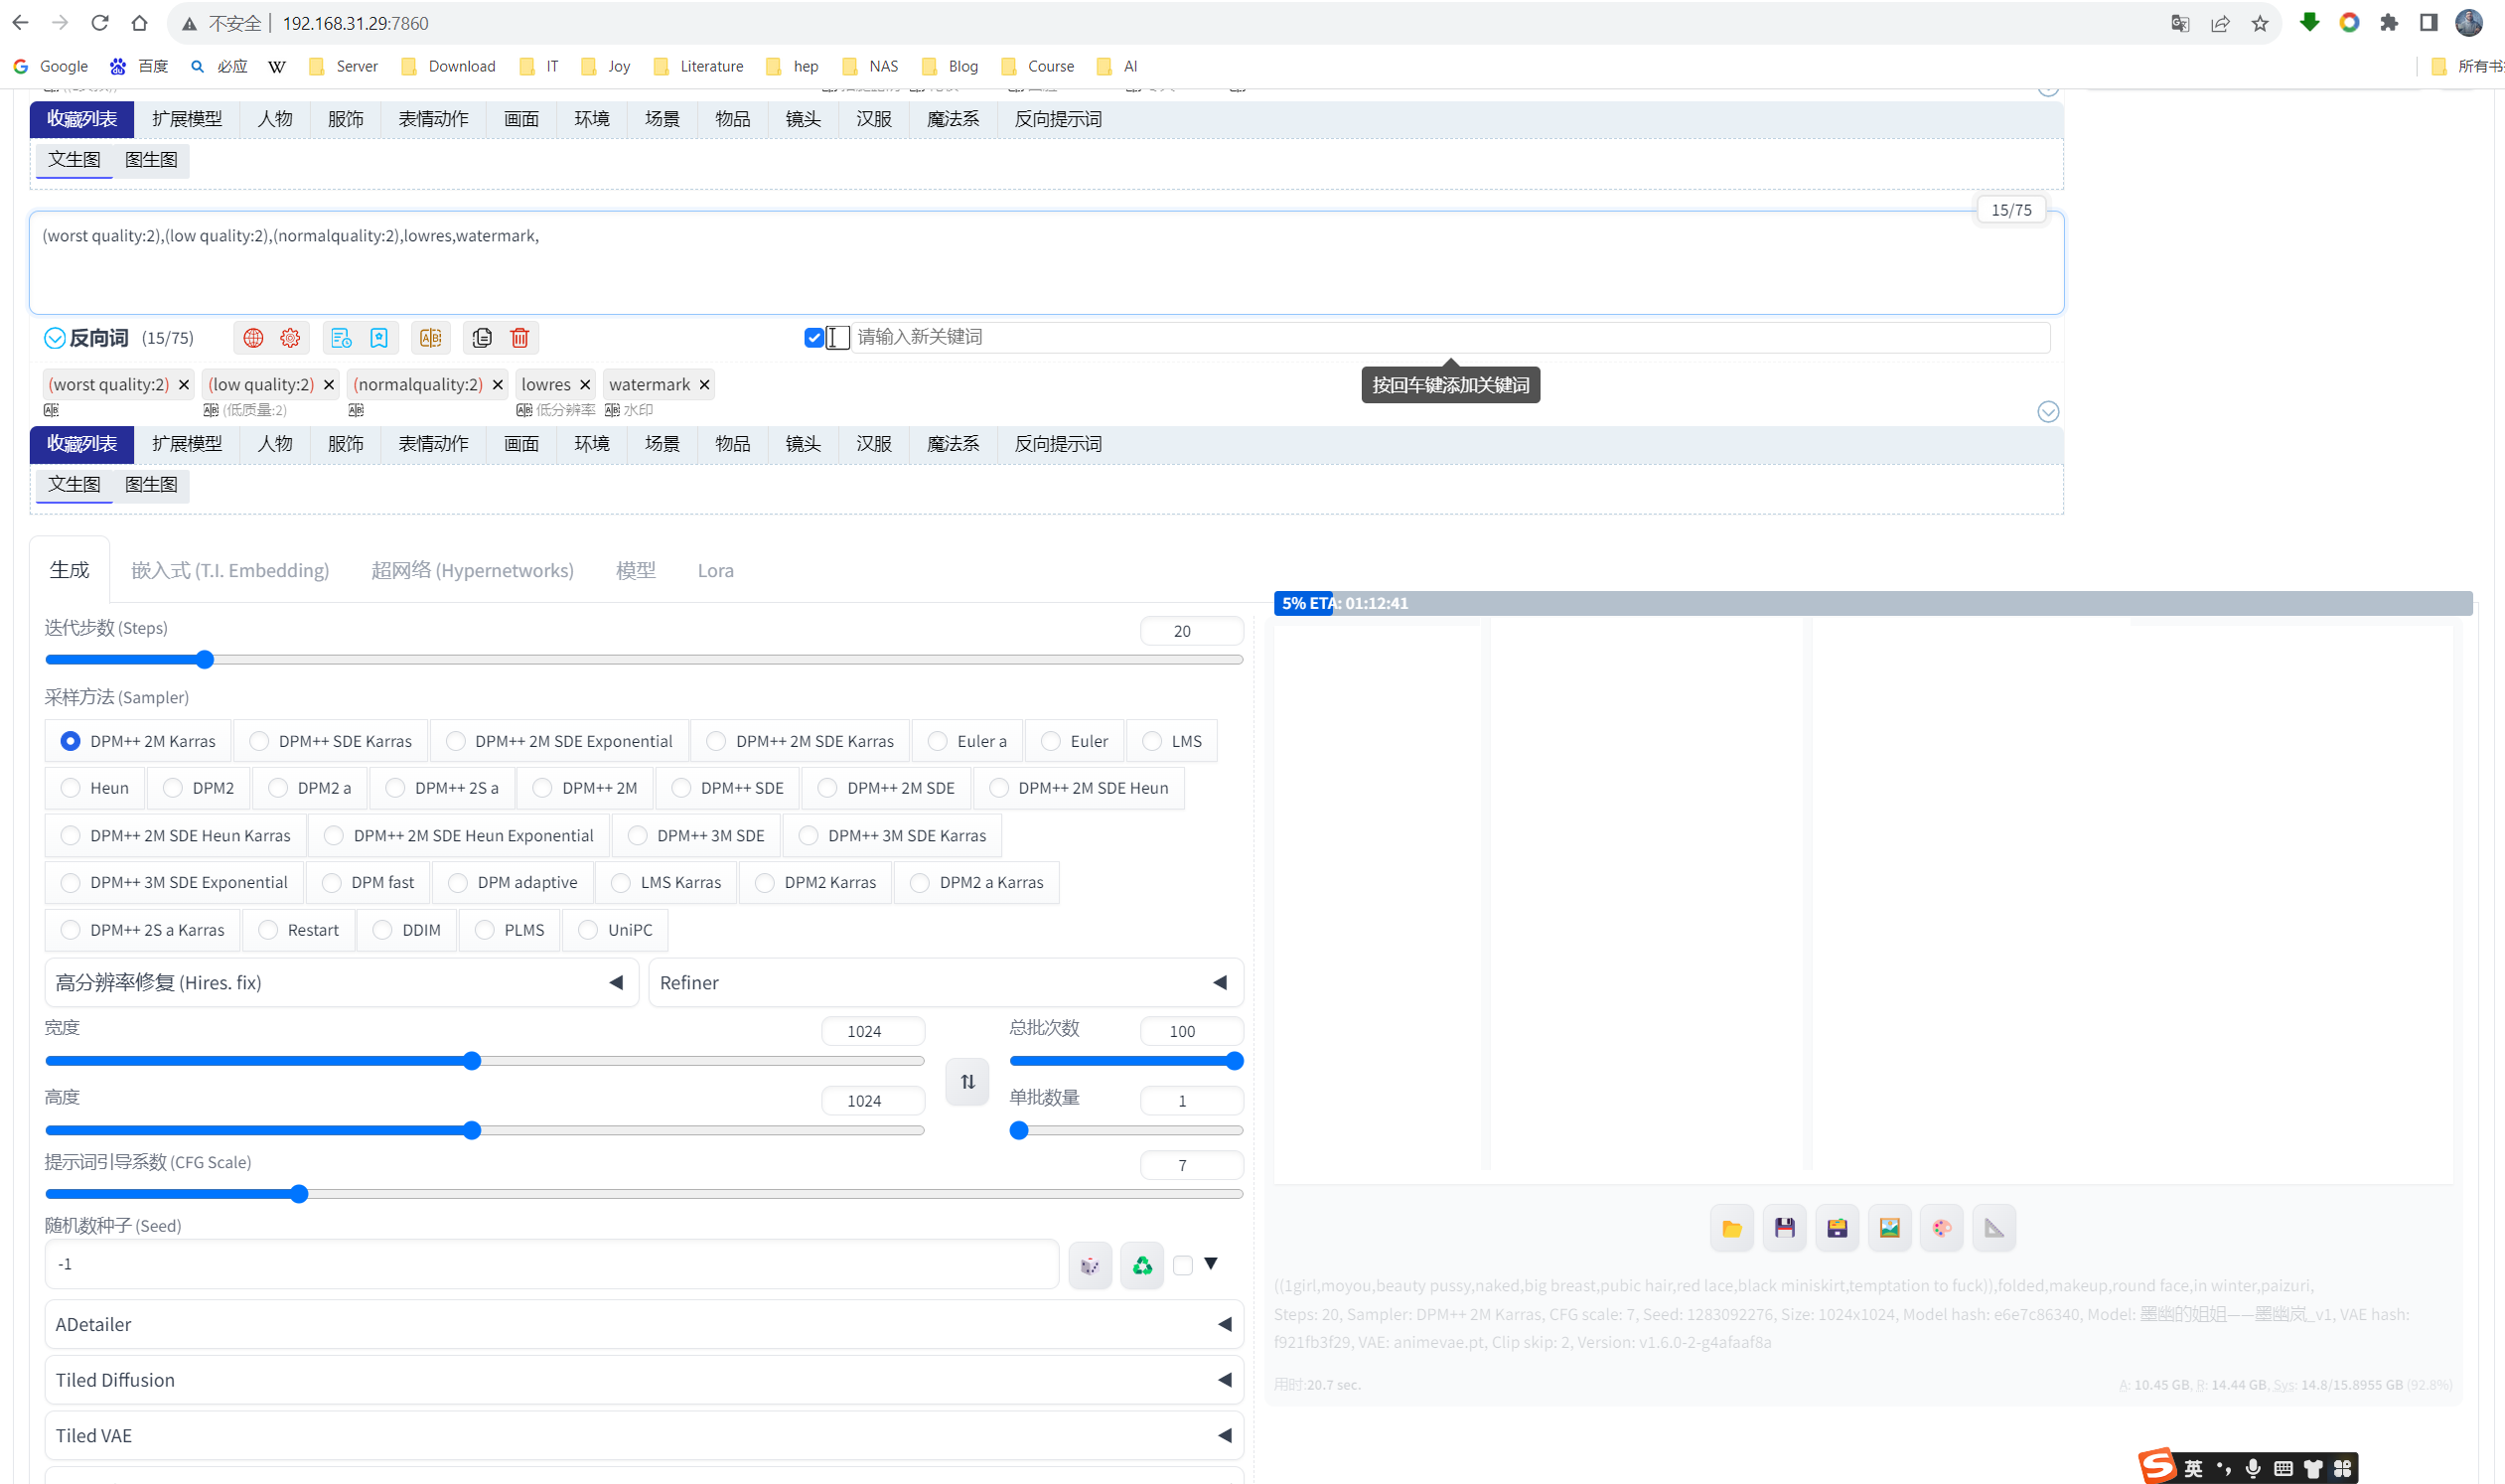
五、设置外部访问
#开放7860端口
ufw allow 7860
ufw enable

#启动参数加上监听
./webui.sh --listen
在局域网别的机器上,输入Ubuntu的IP和端口号http://192.168.31.29:7860/就可以访问了,如果需要外网访问还可以做内网穿透等操作。